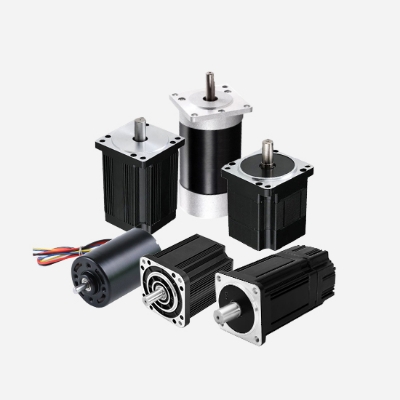
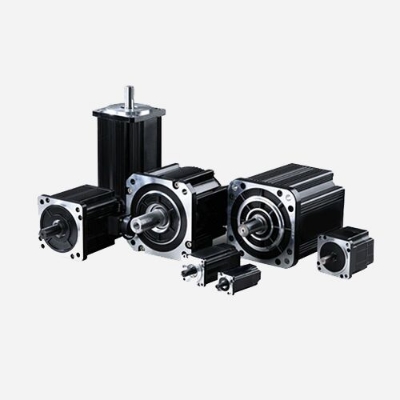
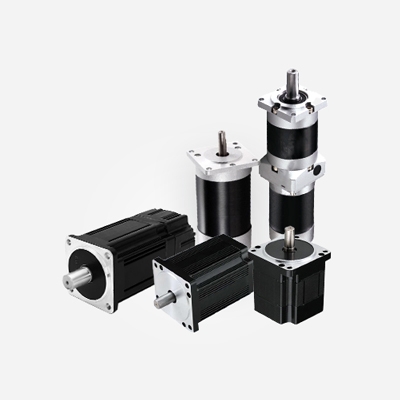
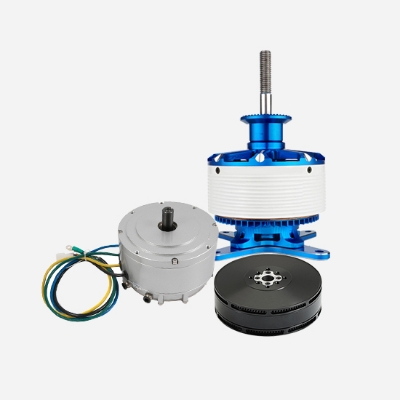
Before installing the brushless motor, make sure that the brushless DC motor and reducer are in good condition, and strictly check that the dimensions of the parts connecting the motor and reducer match. This is the size of the motor positioning boss, reducer input shaft and recess.
Unscrew the screw on the outer dust hole of the reducer flange, adjust the snap ring of the PCS system so that the side hole is aligned with the dust hole, and then insert an Allen wrench to tighten it. After that, remove the motor shaft key.
Connect the DC brushless motor to the reducer naturally. When connecting, make sure that the output shaft of the reducer is the same concentricity as the input shaft of the motor and that the outer flange is parallel. The inconsistency may cause the motor shaft to break or the gear of the reducer to wear out.
During installation, it is prohibited to strike with a hammer to prevent axial or radial forces from damaging the bearings or gears. Make sure to tighten the mounting bolts and then tighten the fastening bolts. Before installation, wipe the antirust oil from the motor input shaft with gasoline or sodium zinc water and locate the tabs and reducer joints. The purpose is to ensure a tight connection and operational flexibility and to prevent unnecessary wear.

Before connecting the DC brushless motor to the gearbox, the keyway of the motor shaft should be perpendicular to the fastening bolt. To ensure even force, turn any diagonal mounting bolts first, but do not tighten them, then turn the other two diagonal mounting bolts and tighten the four mounting bolts one by one. Tighten the tensioning bolts. All mounting bolts need to be secured according to the mounting torque data shown and checked with a torque wrench.
The proper installation of the gearbox and mechanical equipment is the same as the proper installation of the gearbox and drive motor. The key is to make sure that the reduction output shaft and the driven shaft are concentric.
The inner gear ring is tightly connected to the gearbox housing with a sun wheel driven by external power in the center of the ring and the three gear sets are divided into two groups on the pallet. Planetary gear set (C) During this period, the planetary gear set depends on the floating of the output shaft, the gear ring, and the sun wheel carrier. When the planetary reducer drives the sun gear on the input side, it drives the planetary gears to rotate and follow the brushless DC current. The trajectory of the gear ring inside the motor rotates along the center, while the rotation of the roving star drives the power output shaft connected to the pallet.
How to energize the DC brushless motor properly?
- It is necessary to remove the insulating varnish from the wire enameled wire of the brushless motor, and the steps are as follows.
- Pour the appropriate amount of paint stripper into the paint stripping tank.
- Put the stator wire head into the paint stripping tank and soak it for about 2 minutes.
- Use a brush to brush the paint off the wire head.
DC brushless motor equipment circuit board requirements
- solder the Hall switch to the circuit board.
- Cut off the excess switch pins.
- Solder the circuit board to the corresponding pins.
- Check the soldering of the circuit board and pins.
- After correct installation put the stator into the housing and follow the steps to complete the stator installation.
Points to note after the stator is finished winding
- Install the brushless DC motor pin hole to put the pins into the designated position.
- Wrap the coil leads on the pins according to the specific requirements.
- Use pliers to cut off the excess wire.
The above is the DC brushless motor equipment process, master these basic motor assembly methods and details to ensure stable and normal operation of the motor.


